
Shiny Package for RStudio
Share

Today, I’m introducing you to the Shiny package for R and RStudio. If you are an R user and are looking for a way to create interactive web applications, Shiny might be the perfect solution for you. Shiny is an open-source package for R that makes it easy to create interactive web user interfaces without having to learn new web technologies such as HTML, CSS or JavaScript. With the Shiny package, you can create interactive web applications with just a few lines of R code, allowing users to explore data in real time and discover interesting information. In this article, we will explore the basic features of Shiny and how to use them to create interactive web applications. Let’s go
What is Shiny for R?
Shiny is an RStudio package (available for download here) that allows you to build web applications that allow users to interact with your data and visualize the results in a dynamic way. This makes your data analysis accessible and allows you to share them on internal dashboards if you are in a company, but also the possibility to share them on the internet.
The main advantages of Shiny
One of the main advantages of Shiny is its ease of use. With Shiny, you don’t need to know HTML, CSS or JavaScript to create interactive web applications. All you need is your knowledge of R and your imagination. Shiny takes care of everything else.
Another advantage of Shiny is the speed with which you can create web applications. With basic knowledge of R, you can create a working web application in minutes. This allows you to focus on analyzing your data rather than creating a user interface.
Finally, Shiny offers great flexibility for creating Web applications. You can add interactive charts, maps, tables and forms to your application. You can also customize the look and feel of your application by using custom CSS.
Important features of Shiny
Shiny offers several features that allow you to create interactive web applications. Here are some of the key features of Shiny:
- Responsiveness: Shiny allows you to create web applications that react to user input in real time. This means that when the user changes a value in the application, charts and tables update automatically.
- Widgets: Shiny offers widgets to create interactive forms, date pickers, sliders and command buttons. You can easily add these widgets to your application and customize them to your needs.
- Outputs: Shiny allows you to display interactive outputs such as graphs, maps and charts. You can customize these outputs using parameters such as size, color and type of graph.
- Sessions: Shiny tracks user sessions to store data and enable collaboration. Users can save their results, share their data and collaborate on a common project.
Some examples of Shiny realizations
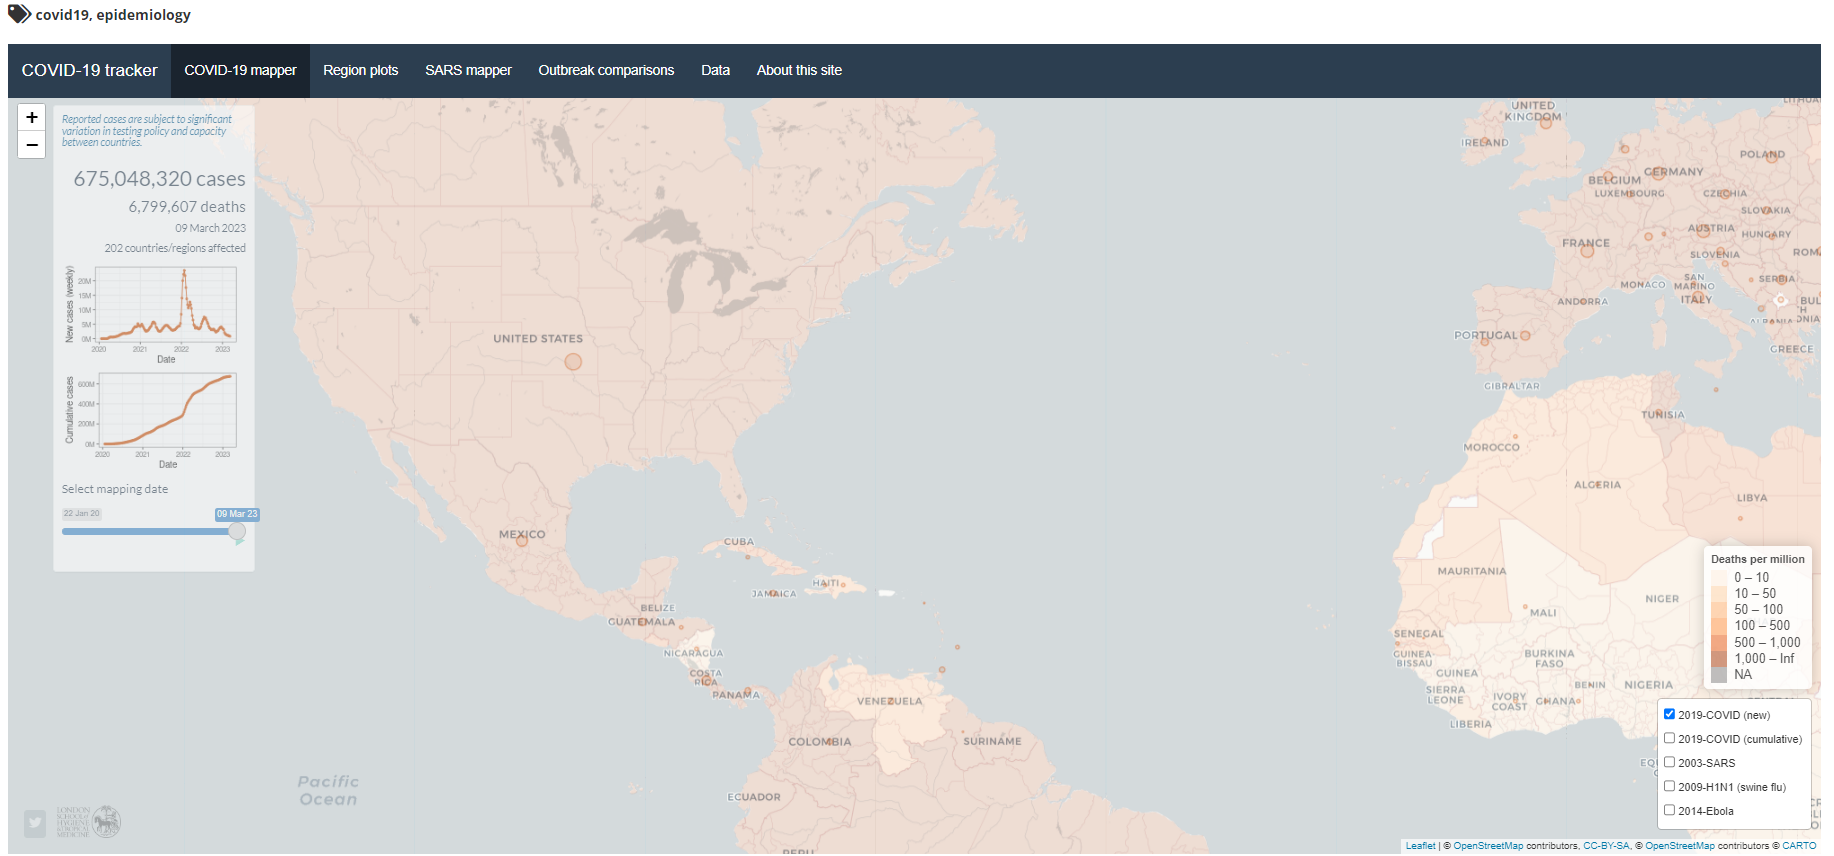
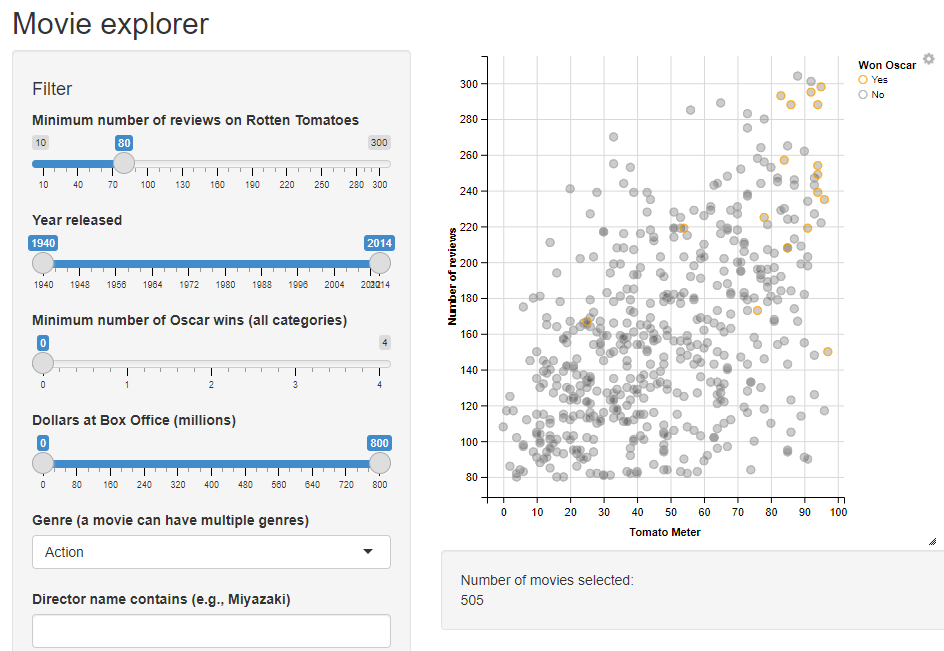
Create interactive applications for the web
To use Shiny’s features to create interactive web applications, here are the steps to follow:
- Install and load the Shiny package: You can install the Shiny package from CRAN using the
install.packages("shiny")command. Once the package is installed, you can load it using thelibrary(shiny)command. - Create a UI: The first step in creating a web application with Shiny is to create a user interface (UI) that defines the user interface elements of your application, such as graphics, tables, buttons, input fields, etc. You can create a UI using the
ui.Rfunction. For example, you can use thefluidPage() function to create a responsive UI that adapts to the user’s screen size:
##scss
ui <- fluidPage(
  titlePanel("Titre de l'application"),
  sidebarLayout(
    sidebarPanel(
      # éléments du panneau latéral ici
    ),
    mainPanel(
      # éléments du panneau principal ici
    )
  )
)
- Create server logic: The second step in creating a web application with Shiny is to create server logic that defines the interactions of your application. You can create server logic using the
server.Rfunction. In the server logic, you define functions that will be executed in response to user actions, such as selecting an option from a drop-down list or editing a text entry. You can also define functions to read and process data from external files or databases.
##php
server <- function(input, output) {
  # définition de la logique de serveur ici
}
- Bind the server logic and the user interface: The last step in creating a web application with Shiny is to bind the server logic and the user interface using the
shinyApp()function. This function takes as arguments the user interface and server logic you created, and returns a web application ready to run.
shinyApp(ui, server)
Shiny for Python

In addition to being a package available for R, shiny is also available for Python! You can either install it with Pip or with Conda. You can find more information on the shiny website at this address.
